A common yet unforeseen problem with polished concrete floors is splotchy color variances in the finished product. Factors that bring on this discoloration could be a result of multiple phases of the concrete floor creation: pouring, troweling, and curing the concrete. For this reason, to determine the cause of the discoloration of the concrete floor, could be hard.
-

- Discoloration
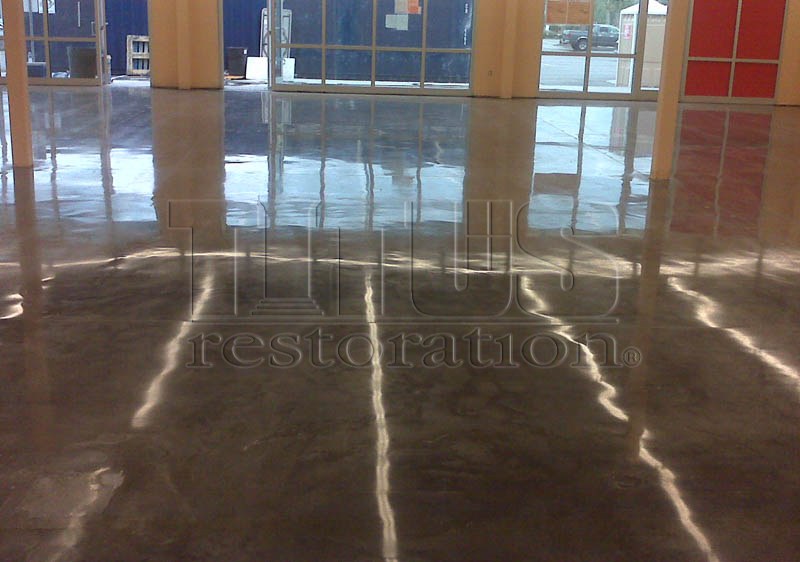
Discoloration problems may be caused by inconsistency in the mix design or by the quality of the aggregates (porous aggregate emerging the surface can absorb moisture and so the surrounding paste could be darker).
Also, the addition of calcium chloride to accelerate the setting time of concrete or the coexistence of poor mixing makes the concrete color blotchy.
Sometimes contractors, to have a better workability concerning the finishing operation, adjust batches on the jobsite by adding water. Usually small variation of moisture in concrete is acceptable but a different coloration can be easily perceptible when you compare the edge of two different concrete placements.
Also the “green” factor is something that contribute to have different colors shade in concrete floors. Adding supplemental cementitious materials in concrete (like fly ash, blast-furnace slag and silica fume) will produce a different color compared to a straight-cement concrete.
Concrete Paste Discoloration
When the concrete is polished, tiny layers of the top of the surface are removed. Often times, for reasons described above, the paste on the top of the concrete may be darker than the paste just millimeters below. This condition may be corrected many times by deeper grinding to achieve a uniform color.
If you are okay with paste discoloration, your price for polishing concrete will be lower than if you want all of the paste the same color; deeper grinding requires more aggressive tooling and equipment and thus is more expensive.
-
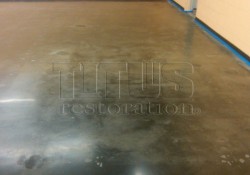
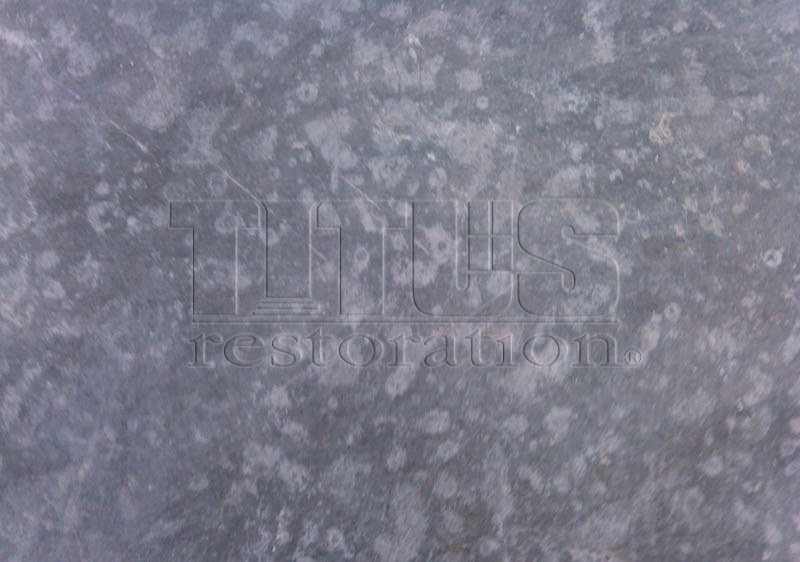
- Difference in Concrete Colors

-
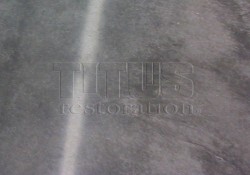
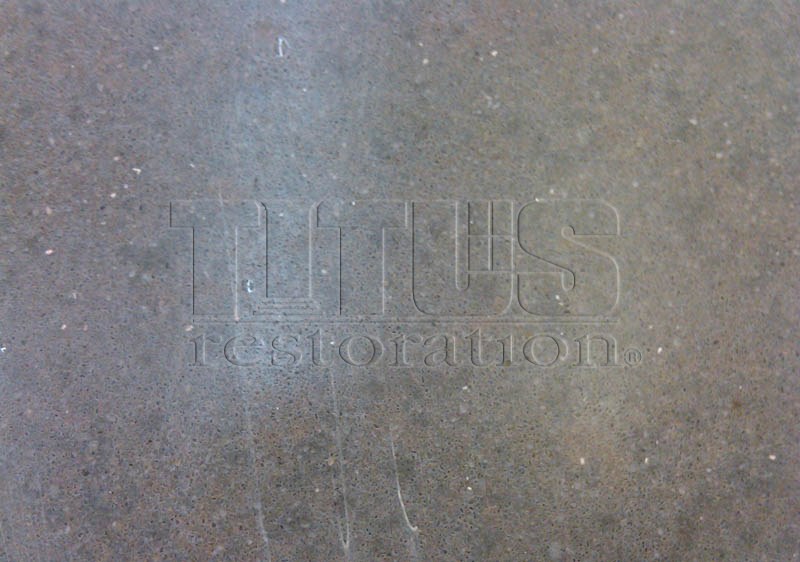
- Paste Discoloration Exposed
Paste discoloration has three main causes:
Burning the Concrete
Paste discoloration may be caused by the concrete finisher using metal trowels and burning the concrete. Burning the concrete makes the top concrete paste dark and sometimes almost black. Burning the concrete may also make the concrete glossy because the surface is so dense. To keep from burning the concrete, we recommend all walk-behind and ride-on power trowels use plastic blades instead of steel blades. Also, keeping the passes over the floor to a minimum will reduce burning. Typically try and limit the passes to 3 or just enough to create a smooth floor.
Paste discoloration caused by burning the concrete is a fixable condition, but because the top of the slab has been so well compacted by troweling, it will create a very dense hard surface called the “hard-cap” of the concrete slab. A very dense hard-cap (Mohs hardness scale of 7) could add as many as 50% more steps to the concrete polishing process (12 steps vs. 8 steps), thus it will increase the cost of the project.
It is important to use the plastic trowel blades and not to burn the top surface of the slab to minimize concrete polishing costs.
Resin Based Curing Compounds
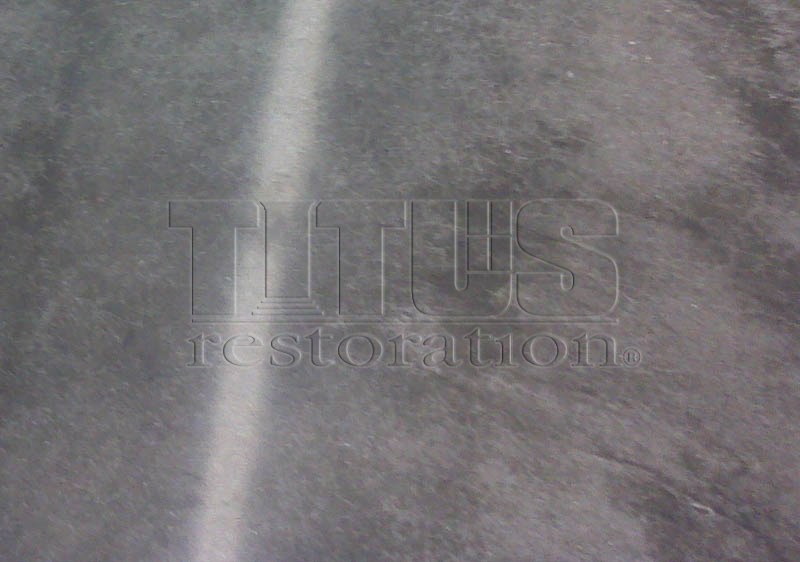
Paste Discoloration caused by resin based curing compounds can cause dark areas deep within the slab. The curing compounds penetrate (especially where over applied) and it is not unusual that these cannot be removed.
As indicated in the photo above, resin based cure and seals will penetrate deep into the pores of the concrete and even when cut very deep to ¾ inch aggregate exposure, the stains and black concrete will remain.
Resin based cure and seals not only turn the slab black the are very difficult for the concrete polisher to remove, especially if they are over-applied. The resin on top of the concrete loads up the concrete polishing diamonds much like sticky glue would load up sandpaper. This is the reason it costs more to remove resin based cure and seals. Titus sells a ASTM approved 309 Cure and Seal called Titus HP2 Curing Compound.
-
- Before
-
- After
Dissipating resin based curing seals need 7 days of UV exposure to dissipate, but even then, in our experience, they are still difficult to remove and they still turn the slab black.
It is simple to check if a resin based cure and seal was used on the slab. Simply place a drop of water on the slab and see if it is immediately absorbed. It the water beads or can be wiped up without leaving a dark spot where the concrete became damp, that is solid indication that a cure and seal still exists on the surface.
Other indications are simply visual.
Uneven Hydration
Paste Discoloration can also be caused by uneven hydration of the concrete slab. It is not unusual to see differences in the color of the concrete paste caused by,but not limited to:
a. The curing blanket being blown off the slab.
b. Buckets, boards, drywall, or other materials were stored on the slab.
Anything left on the slab that will slow down the hydration (drying) of the concrete will cause discoloration. This includes, but is not limited to buckets, 2×4’s, drywall, steel, lumber, boxes, and even using too think of a curing blanket with block or buckets on top. It takes about 16 mils of plastic to stop moisture vapor transmission.
Protecting the slab with 4×8 sheets of lumber or other type of construction board will cause discoloration where the boards meet. This cannot be solved by taping the joints of the board as the tape will have a different rate of vapor transmission than the construction board or plastic.
When using a curing blanket or 16 mil plastic, always be sure to overlap the joints and never put tape on the concrete.
An uneven placement of plastic sheeting caused by some obstacles or penetrations can create marks or impressions. These impressions will be visible where the plastic created a “greenhouse effect”.
This is one of the reason for why we suggest to use a lithium based curing compound. Avoid “greenhouse impressions” in advance for sure will lower your price.